
How to Compress Images for Your Website Without Losing Quality
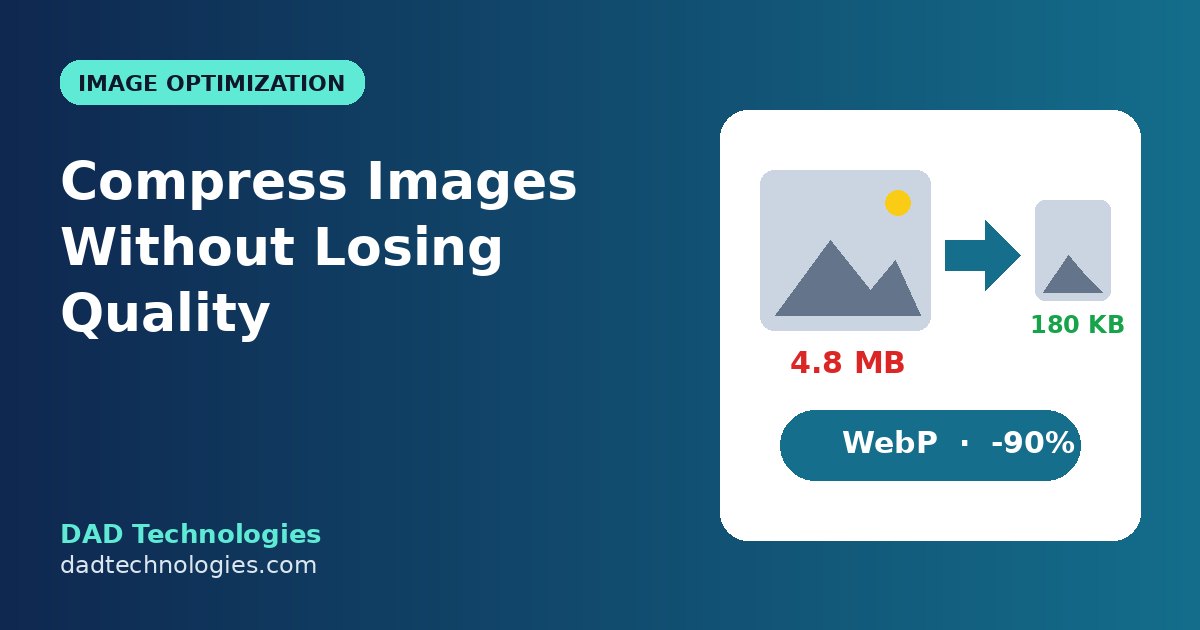
Images are usually the heaviest part of a web page. A single photo straight from a phone can be 3–6 MB, and a product page with ten of them can take several seconds to load on mobile data. Slow pages lose visitors, hurt conversions and can weaken your search rankings, because page speed is part of how Google judges user experience.
The good news is that you can usually cut image size by 60–90% without any visible loss in quality. This guide walks you through the three steps that matter – resize, compress and convert – using free tools that run in your browser.
Why image size matters
- Faster loading: Smaller files download faster, especially on mobile networks.
- Better Core Web Vitals: The largest image on a page often decides your Largest Contentful Paint (LCP) score.
- Higher conversions: Shoppers leave slow product pages before they see the price.
- Lower hosting and bandwidth use: Smaller files mean less storage and data transfer.
Step 1: Resize images to the size you actually display
The most common mistake is uploading a 4000-pixel-wide photo for a space that is only 800 pixels wide. The browser still downloads the full file and then shrinks it.
Check how wide the image appears on your site. Typical sizes:
| Use | Suggested width |
|---|---|
| Full-width hero/banner | 1600–1920 px |
| Blog post image | 1200 px |
| Product image (main) | 1000–2048 px, square |
| Thumbnail | 300–600 px |
For online stores, consistency matters too. Product images with different shapes and backgrounds make a collection page look messy. Our free Product Image Resizer lets you set one size and choose fit, crop or padding, so every product photo comes out the same dimensions.
Step 2: Compress the file
Compression removes data the eye does not notice. For photos, a JPG or WebP quality setting of around 75–85% is usually indistinguishable from the original on screen.
Use the Image Compressor to compress an image and compare before and after side by side. Zoom in on edges, text and faces – if you cannot see a difference, keep the smaller file.
Tips:
- Compress photos more aggressively than graphics with text or sharp lines.
- Keep logos and simple graphics as PNG or SVG if they need transparency or crisp edges.
- Never compress the same JPG again and again – each round loses a little more quality. Always start from the original.
Step 3: Convert to WebP
WebP is a modern image format supported by all major browsers. It typically produces files 25–35% smaller than JPG at similar quality, and it supports transparency like PNG.
Our JPG & PNG to WebP converter converts images right in your browser – your files are not uploaded to a server.
Many platforms already help:
- Shopify automatically serves WebP to supported browsers from its CDN.
- WordPress supports WebP uploads, and many caching or image plugins can convert automatically.
Which format should you use?
| Format | Best for | Notes |
|---|---|---|
| WebP | Most photos and graphics | Smallest files, supports transparency |
| JPG | Photos where WebP is not possible | Good compression, no transparency |
| PNG | Logos, screenshots, graphics with transparency | Larger for photos |
| SVG | Logos and icons | Scales perfectly, tiny file size |
Don’t forget these quick wins
- Name files descriptively –
black-leather-handbag.webpis better thanIMG_4532.webp. It helps image search. - Add alt text – describe the image for screen readers and search engines.
- Use lazy loading – images below the fold should load only when the visitor scrolls. WordPress adds this by default.
- Don’t lazy-load the main image – your hero or main product image should load immediately for a good LCP score.
- Test your page speed – run Google PageSpeed Insights before and after to see the improvement.
A simple workflow for every new image
- Resize to the display width (Product Image Resizer).
- Compress at 75–85% quality (Image Compressor).
- Convert to WebP (WebP Converter).
- Rename the file and add alt text.
- Upload.
It takes less than a minute per image and can make your pages several times lighter.
Frequently asked questions
Does compressing images reduce quality?
Lossy compression removes some data, but at sensible settings the change is not visible on screen. Always compare before and after.
What is a good file size for website images?
Aim for under about 200 KB for large images and under 100 KB for most others. Hero images can be slightly larger if they are the focus of the page.
Is WebP supported everywhere?
All modern versions of Chrome, Safari, Firefox and Edge support WebP.
Are my images uploaded when I use your tools?
No. Our image tools run in your browser, so your files stay on your device.
Need a faster website or a store that converts better? Talk to DAD Technologies about web development and eCommerce optimisation.